Ensuring HIPAA Compliance on WordPress
Ready to boost your SEO ?
Ensuring HIPAA Compliance on WordPress
Let’s say you work in the healthcare industry or are working with a client that requires access to health information to provide a service. How do you handle this information in a way that ensures privacy for users? Since 1996, all private health information (PHI) - physical or electronic - is protected by law under the Health Insurance Portability and Accountability Act (HIPAA). This includes information related to diagnoses, prescriptions, medical history, test results, as well as identifying information such as birth dates, gender, ethnicity, and contact details. If the health information can be tied to an individual, it needs to be protected. The penalties for non-compliance range from financial to criminal and pleading ignorance will not absolve you of wrongdoing.
That being said, there are simple solutions for safeguarding PHI if your website is built with WordPress. The best option that we’ve found is a plugin called HIPAA Compliant Web Forms. It allows developers to create secure forms using either Caldera or Gravity Forms, and stores submissions remotely in an encrypted database. Only Administrators of the site have permission to view the submissions, and even then PHI is never stored on the local server; it is pulled from the remote database, decrypted by the plugin, and displayed in the interface. The process ensures privacy and security for users, as well as peace of mind for the handlers of the data.
Securing Your Forms
Note that there are comprehensive instructions within the HIPAA Compliant Forms interface under the Support tab. If you have any questions regarding the details of implementation, it is best to consult with the official documentation or reach out to the HIPAA Compliancy Group. The following steps are a basic overview of the process. I’ll be using Gravity Forms, and will assume it is already installed on your site. Let’s get started.
1. Initial Setup for HIPAA Compliant Forms Plugin
Find the plugin HIPAA Compliant Forms in the WordPress Plugin Directory, then install and activate. Also, make sure that your website has SSL enabled. Any forms that are loaded on insecure pages will automatically be deactivated to maintain compliance.
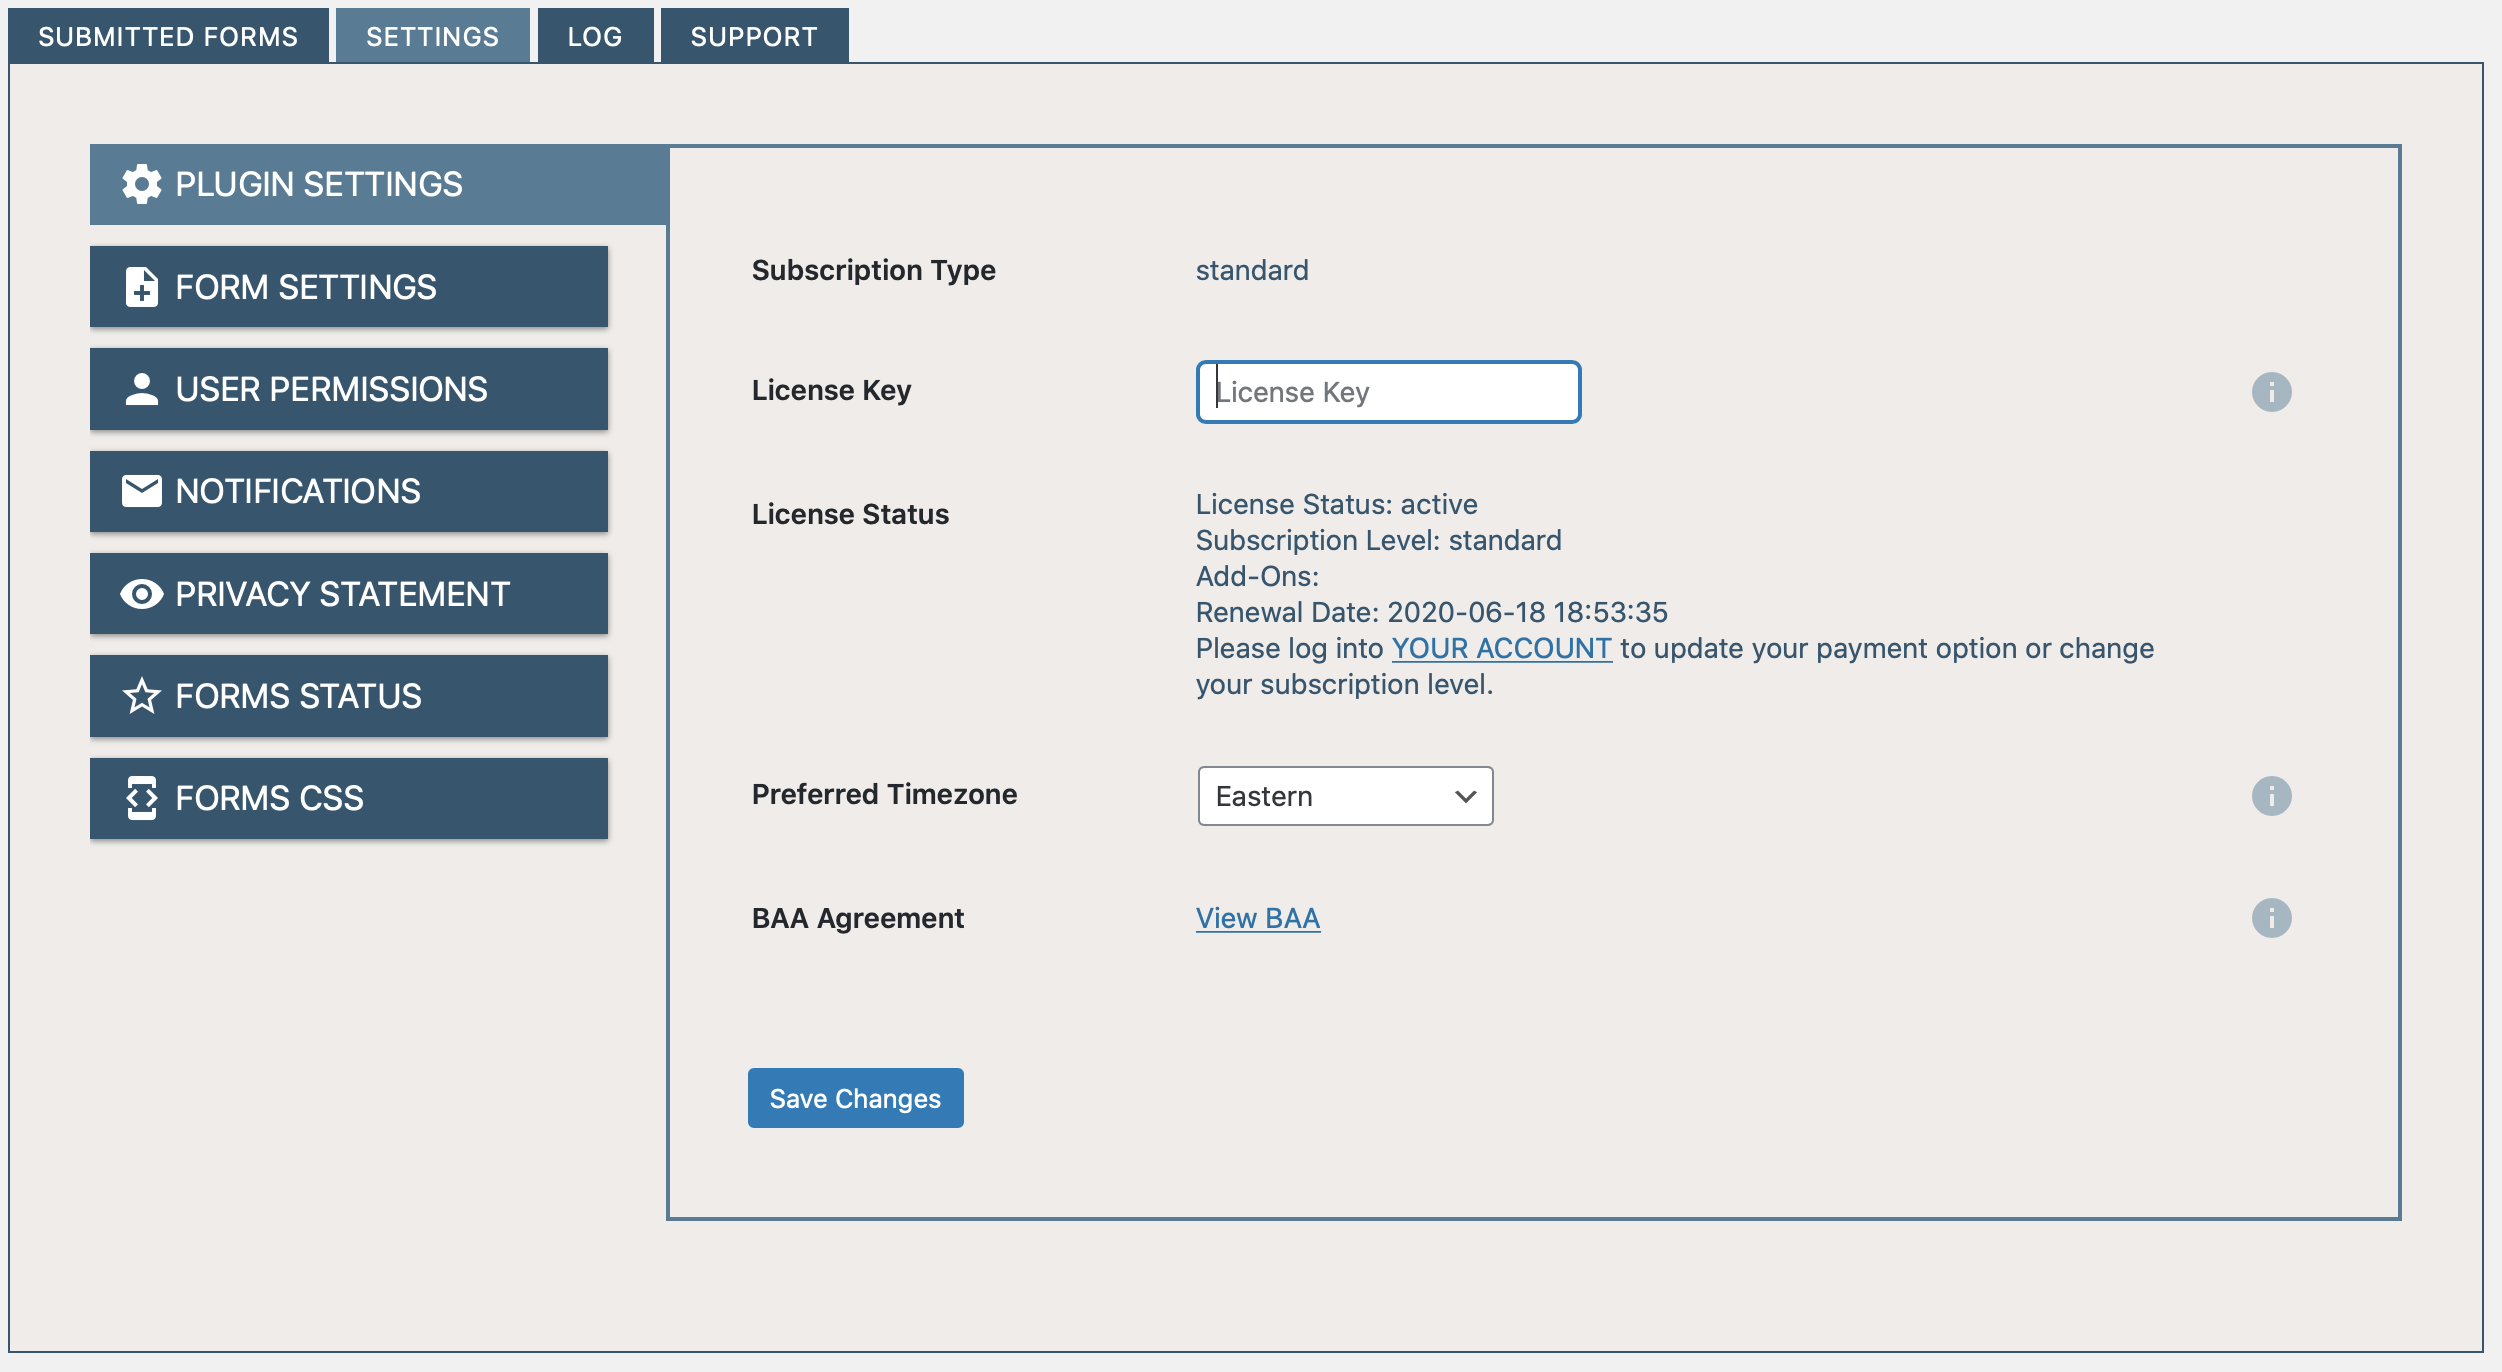
You’ll need to obtain a license key by subscribing to HIPAA Forms Service API. Visit the plugin’s website to sign up. Once you receive the key, add it to the appropriate field under the Plugin Settings tab.
2. Create the Form
Add a new form from the Gravity Forms interface. There are four required fields that must be on the form to allow for filtering and sorting post-submission: First Name, Last Name, Phone Number, and Email Address. Once you create these fields, add the specified slugs to their Custom CSS Classes (i.e. hipaa_forms_first_name). HIPAA Compliant Forms will check that these fields exist when processing your form.
3. Selecting Forms to Be HIPAA Compliant
To check for compliance, go to the Form Settings tab to see a list of all available forms. If the form meets the requirements, there will be an empty checkbox next to the form title. Simply checking the checkbox will mark your form as HIPAA Compliant. That’s all you have to do.
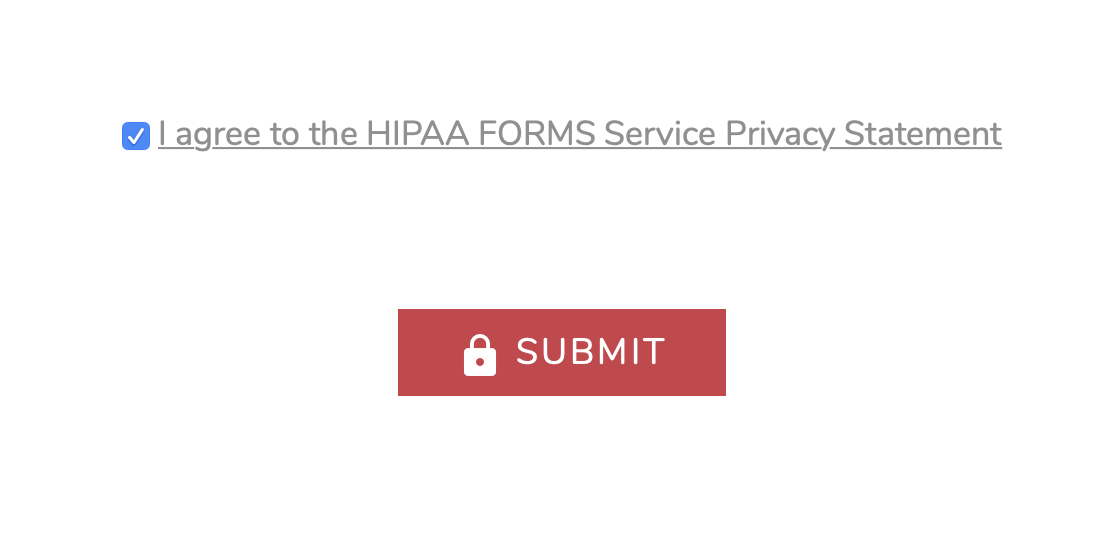
Test that the HIPAA Service API is functioning properly by viewing the form you just created. If all is well, there should be a checkbox prompting users to agree to the HIPAA FORMS Service Privacy Statement, as well as a submit button with a lock icon. If you make a submission, it will be viewable from within the HIPAA plugin interface under Submitted Forms. From here you can view all submissions under all your compliant forms, sort the submissions by field, and generate encrypted PDFs.
Using JavaScript Callback Functions with Your Forms
Another useful feature of HIPAA Compliant Forms is the Submit Success Handler, found under the Form Settings Tab. There are options to display a success message upon submission, redirect to another page, or invoke a JavaScript callback function. The last option is labeled as an experimental feature but proved essential for one of our healthcare-related projects.
The client we were working with needed a form to determine whether users were Qualified or Not Qualified for a study upon submitting their information. By filtering submissions, we would be able to redirect users to different pages depending on their responses to questions. The callback function performed several actions prior to submissions, such as checking the birth date, zip code, and radio button responses.
Depending on the answers, a hidden Gravity Forms field called Office Location would be set to either Qualified or Not Qualified - this was a trick suggested by the support team at HIPAA Compliant Web Forms. We expect that a more elegant solution will be developed in the future, but this worked well enough. From there, the callback assesses the value of the Office Location field and redirects users to the appropriate page. Additionally, this field’s value allows site administrators to filter out all the unqualified submissions from the Submitted Forms tab. For our client, this eliminated what would have been a tedious, costly process of manually reviewing each form submission.
The success handler is invaluable in many different circumstances, and we hope that the team at HIPAA Compliant Web Forms continues to flesh-out this feature to allow greater flexibility for data manipulation - so long as security remains the top priority.
Would your website benefit from using HIPAA compliant forms? Contact us directly for more information regarding our healthcare web design services.

with a Booster program for Healthcare companies.